

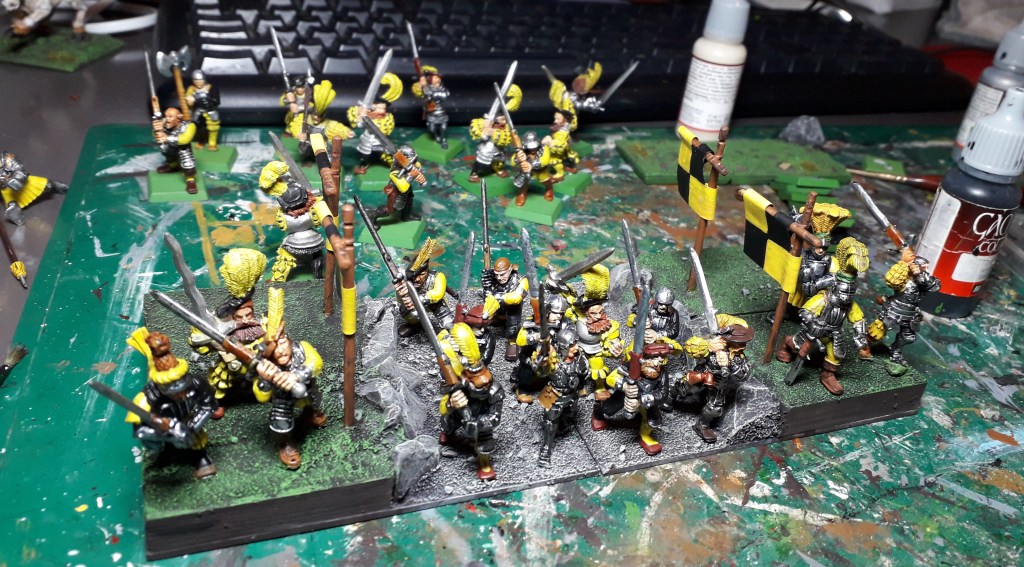
Recently I built this foot guard horde multibase. I was asked to make another multibase tutorial, so I recorded the building of this project.
As usual, the multibase is a bit of a diorama. It depicts a road in the landscape, traveled by the unit. The road is lined with banners, to show that it’s part of the Topaz lands with the black-and-yellow quartered banner.
Materials used
As usual, the bottom layer of my multbases is 2mm plasticard. Sold from many hobby stores, 2 mm plasticard is easy enough to cut, but strong enough not to bend under the weight of metal miniatures.
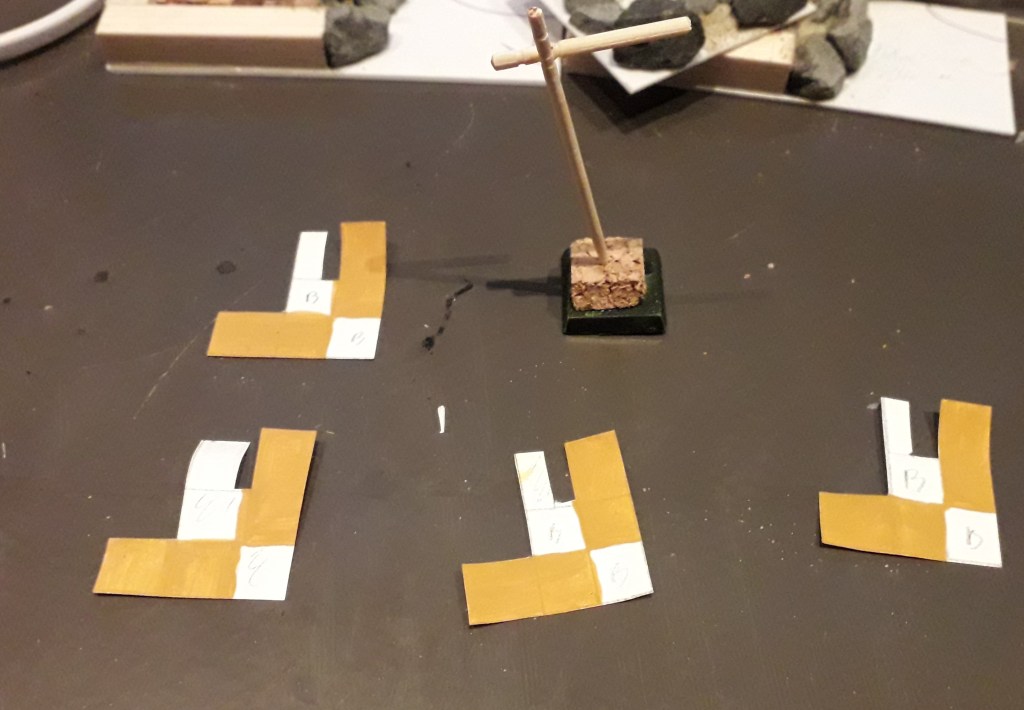
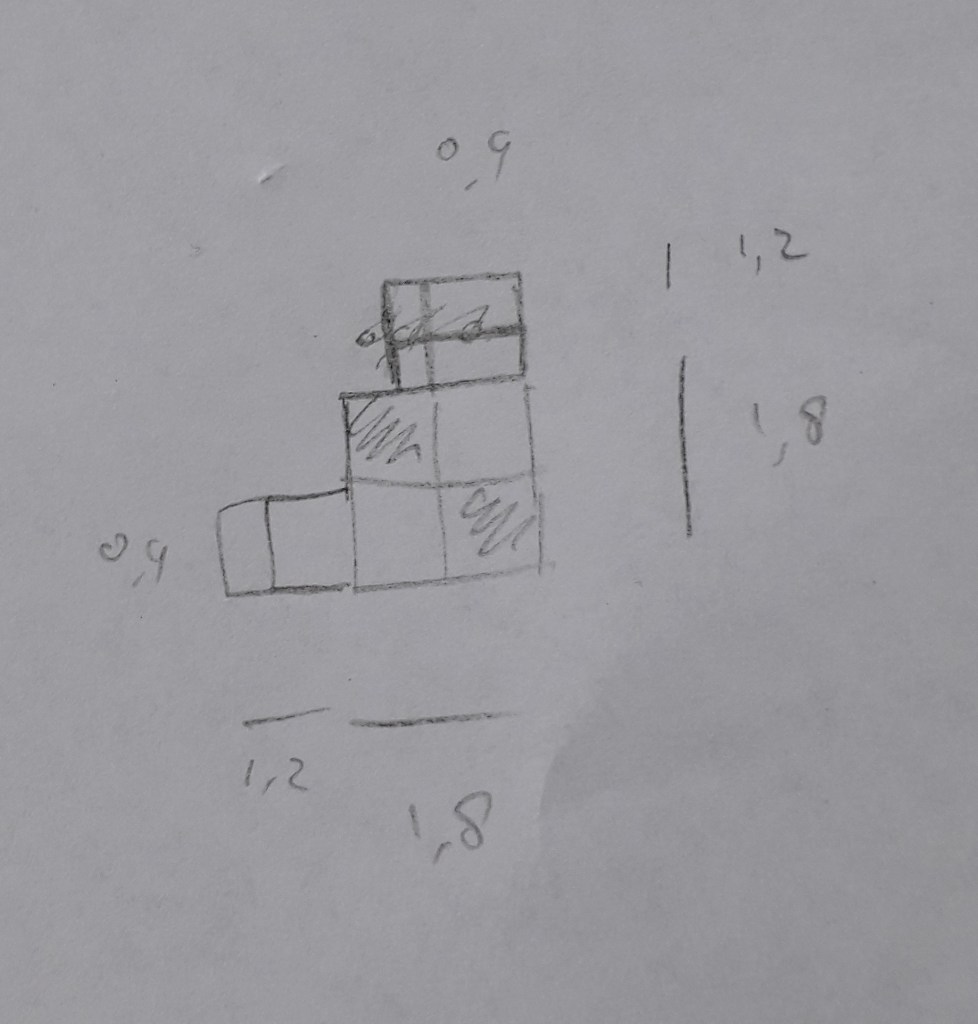
As you can see, I cut out the horde base (200x80mm) first and drew a patern before quartering it into four troop-sized bases. This way I made sure that the multibase would fit exactly even if I didn’t cut exactly straight.

Furthermore, I used a 20 mm square wood bar to create the elevated areas. The edges of the road are lined with garden gravel. Then I filled out the elevated areas with some cork to limit the weight. Holes and edges are filled with PVA glue mixed with sand.
The banner poles are wooden skewers connected with a drop of PVA glue which i stuck into the cork.
The banners itself were made from white printing paper, painted in a quartered pattern. As seen above and on the right, the banners are cut from a 30mm square and they end up 18mm.
Painting up the banners ended up to be the most time-consuming part of this project as the bright yellow needed to be painted over three times (plage yelllow and twice over with moon yellow) on both sides, so there were six painting stages.
After the banners were finished, I started on the base itself. The wole model, including the elevated areas, is covered in PVA glue and then sand. (I used 2 different kinds of sand to differentiate between the road area and the green areas, but this is nowhere necesary) The bannerpoles are put in at this stage.
After that, I basecoated the whole base blackbrown, except for the gravel and the poles. (the poles are beasty brown and the gravel wasn’t basecoated at all). After allowing it to dry, the whole base (including poles and gravel) was painted over in a thinned-down black ink.
Then, the raised (grassy) areas are drybrushed (twice) with goblin green. The gravel and the road drybushed in cold grey. These colours both match well with the blackbrown base and create the differnce between the grass and the road. The rocks and road were finished with a light drybrush of bleached bone (offwhite) and the poles got a highlight of leather brown.
The banners were glued into place with a drop of PVA glue. As you can see, the bright yellow contrasts nicely with the green and grey of the ground.
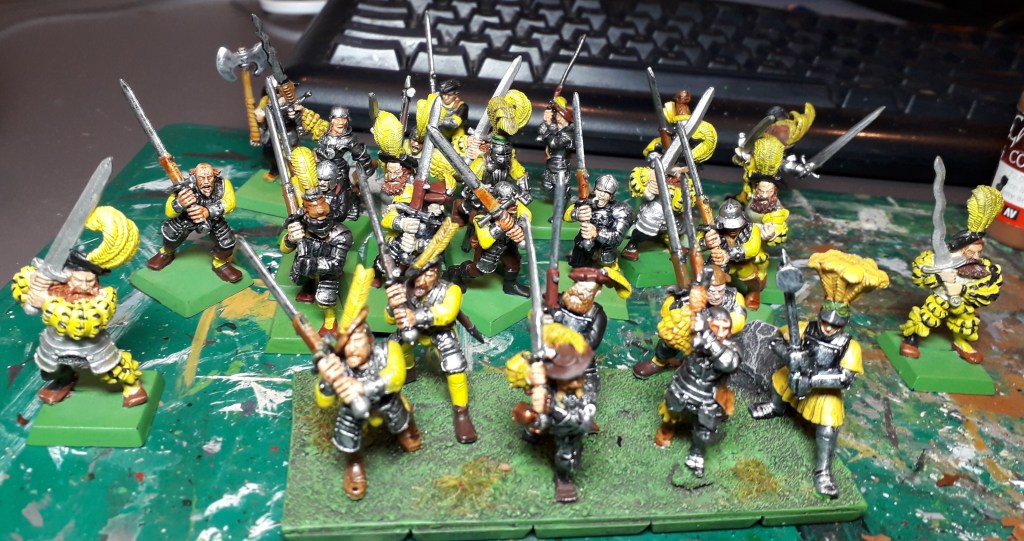
The painting of the base finished, now it’s time to glue the models in place. Here’s all of them collected:
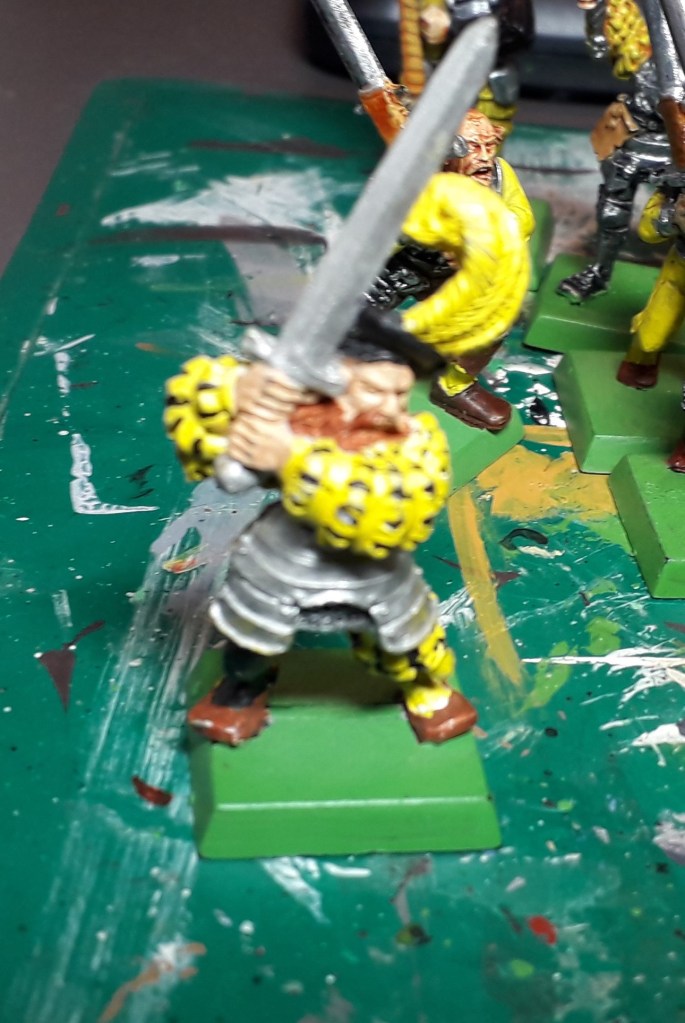
Yes, one group was already multibased. but as I wanted the multibase to be more of a diorama, I removed all the modeld from the orignal multibase. Also, there was quite some battle damage on the original models (some were painted as far back as 2002 or so) which needed to be repaired.
Also, some of the older models still had the metal clips for the slots on the bases. These had to be cut off as well. All-in, preparing the models for transfer turned out to be an evening’s work.
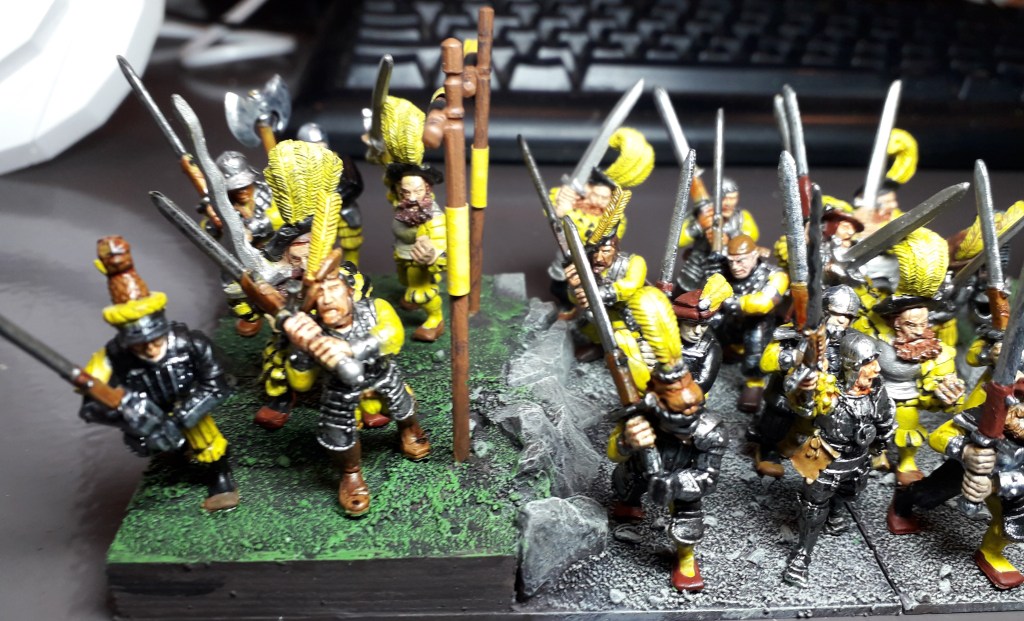
Halfway through:
the challenge of rebasing models like this, is getting to fit the models without them being too cramped. Especially as this diorama has some terrain (rocks, banners) where there’s no room for models, it can easily become too cramped.
I also seperated the monopose greatswords of old times so there’s not 2 of the same guys next to each other.
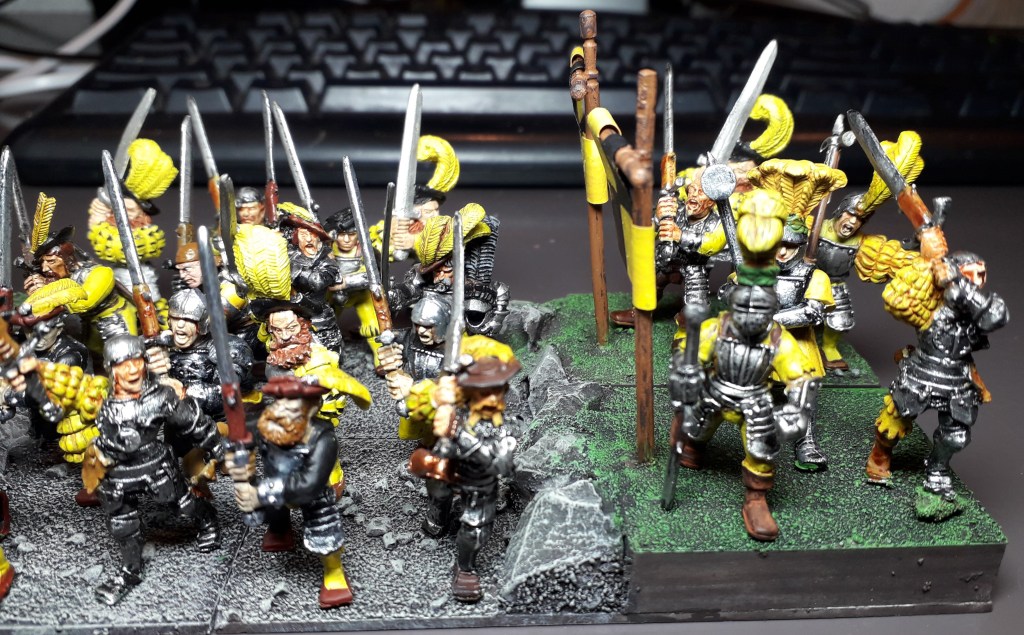
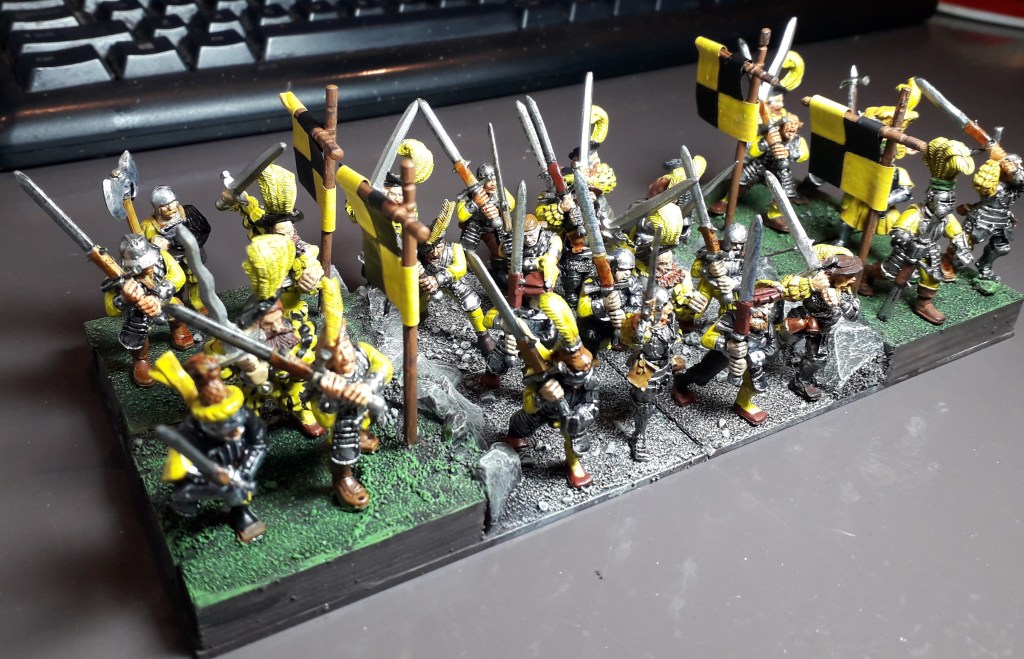
The final result is something I ‘m rather proud of. Once again, I transformed a cramped unit of single-based infantry models into a well-looking multibase.
Here’s a couple more pictures from all angles in a gallery:


5 thoughts on “Tutorial – how to build the foot guard multibase”