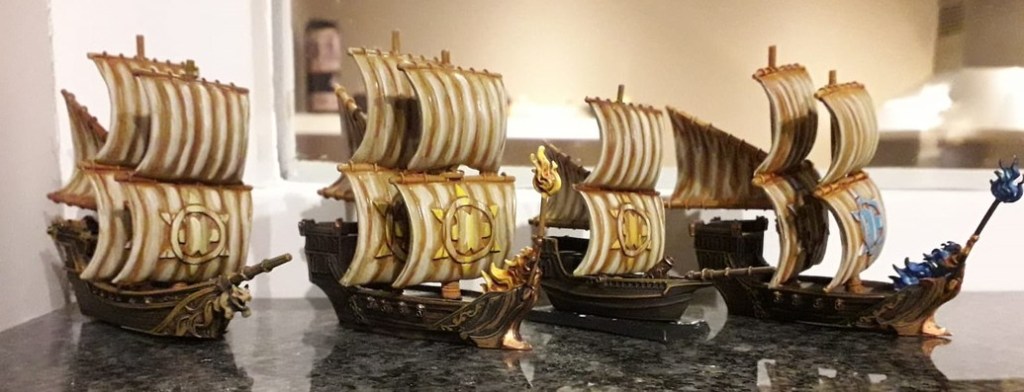
I painted up a couple of Armada Basilean ships, see the previous posts for the results. I was asked a few times how I did paint them (especially the sails), so this blog post shows how to.
Preparation
First, before touching any paint brush, prepare the ships. As the ships are resin, you’ll need to scrape off mold lines and fill gaps with green stuff. Then, AND THIS IS VERY IMPORTANT, wash them well. Then wash them again.

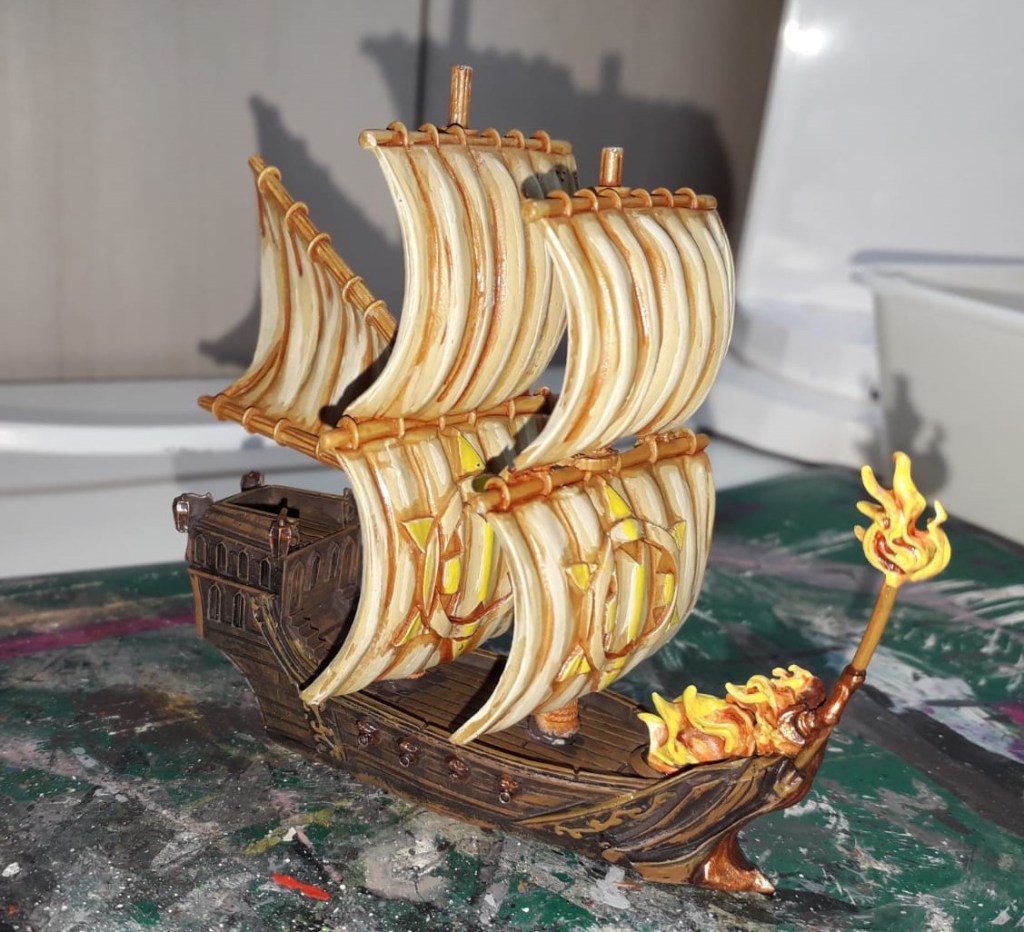
The casting of the resin process leaves some residue on which the the paint will not hold. My first Elohi (above) was not washed well enough, and I had to touch up places where the paint came off several times. Now it’s sealed with varnish, I hope it holds. 🙂
So, before priming, wash them.
then I assembled the ships and the sails separately. Throughout this tutorial, I will keep the two separate until the final part, where the painted sails are combined with the painted ships. For ease of painting, I mounted my sails on a round base. I used the underside of the round 40mm GW bases, since it has slots in which the sails exactly fit.
Undercoat
the ships I undercoated black (see below) but the sails, I wanted a more vibrant colour, so I underoated the sails white.
Layering the sails
When I describe which colour I use, please refert to the Valejo colour chart.
As a first layer (over the white basecoat) I used leather brown (slightly thinned down, as usual) as the first layer. The basecoat will show through, that’s no problem. Then I painted all but the deepest recesses and the wood with desert yellow. The result shows ont he picture below, the sails on the right.
After this part, I used a thinned down brown ink on everything, wood and sails. The result is on the picture below on the left.

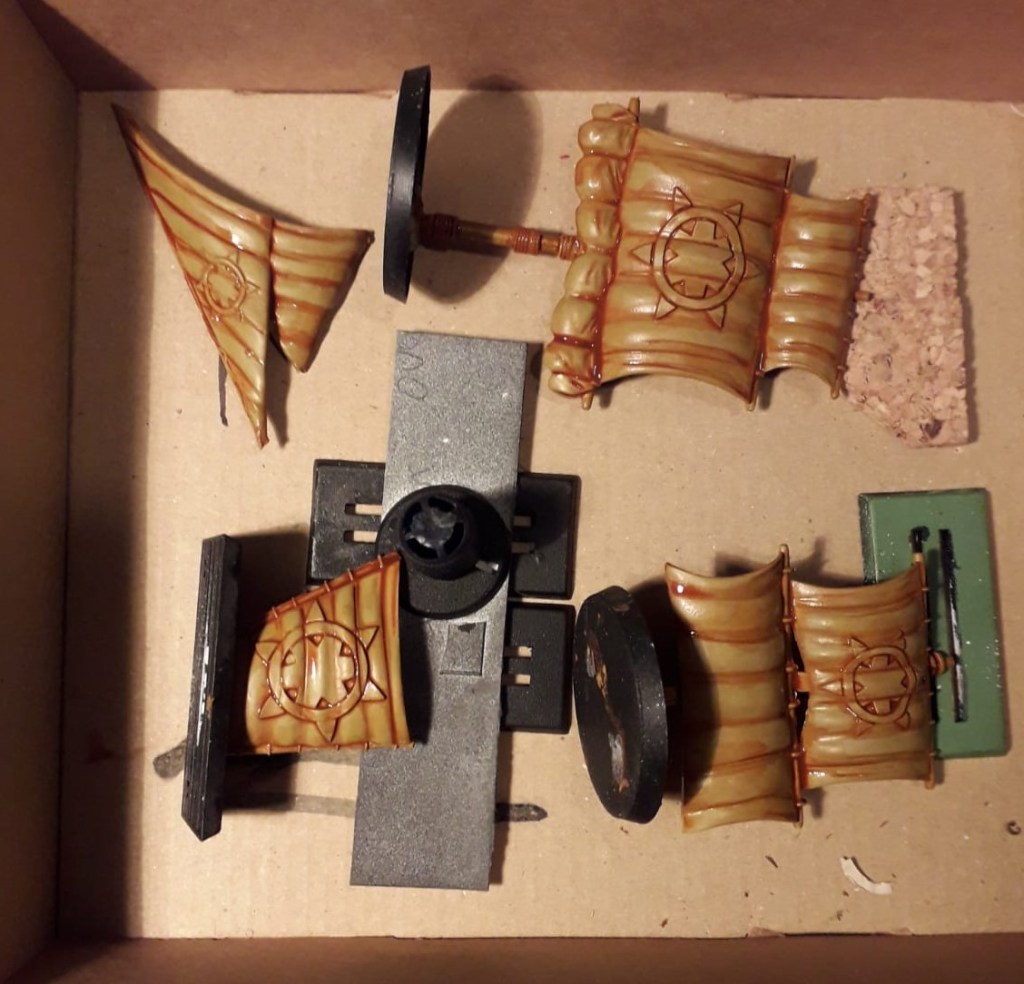
Here’s another set of sails in this phase of the painting.
This is the phase of painting I really enjoy. As soon as the first layers are painted and the ink layer is added, it suddenly shows its process, highlighting the details.
Until this phase, painting sometimes turns into a slog, after this phase, it’s just finishing and touching up!
After applying the ink (and leaving it to dry overnight!) I highlighted the sails once again, this time with a mix of 50% desert yellow and 50% bone white.

To complete the sails, I highlighted the highest areas once again, this time with bone white.
The result is on the right, and I’m quite happy with it.
Until this point, all sails are painted the same. I make each one stand out, I chose to high light the Basilean sigil with a different colour for each ship. As this colour goes on last, I chose light colours such as yellow and ice blue, often mixed with bone white for a more subtle effect. The goal is to make the ships slightly different, not create very neon logos.
The boats
Painting the boats was much easier:
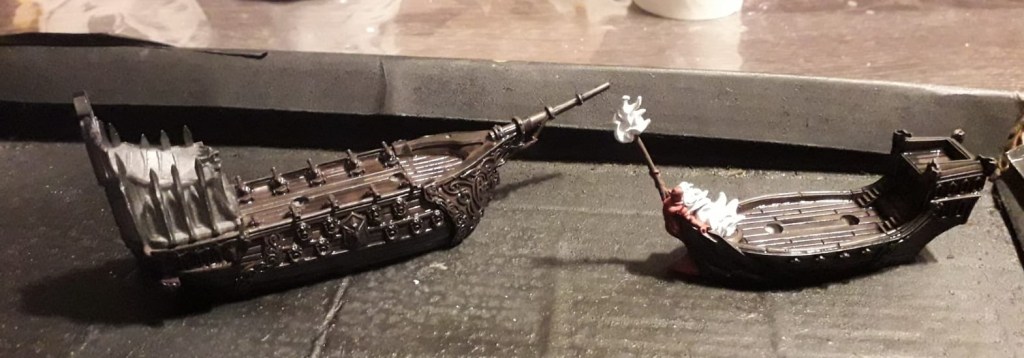
- Black undercoat
- Painted the whole model with blackbrown (a Vallejo model colour, as there’s no game colour equivalent)
- White paint for the details that need to stand out (such as the Elohi fire)
- Black ink on all non-white parts. (this is one of the few times that Black ink actually works out)

The result looks like the two ships above.
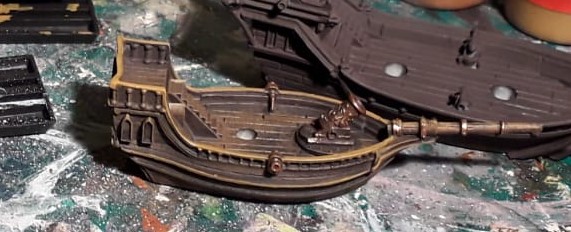
Then, the whole model is drybrushed beasty brown and some parts highlighted with leather brown.
Finally, the guns (and other metal parts) are drybrushed with brazen brass and highlighted with glorious gold.
Combining sails and boats
I used a small blob of green stuff, to fit the sails in the holes instead of glue. This has the advantage that I could adjust the sails for a few minutes until it cures. After the green stuff dried, I painted the parts where it showed beasty brown.
Just use a little bit and the green stuff barely shows. If the green stuff shows, you’ve used too much.
Finished?
Not really. After the Abess has been finished, the whole fleet needs basing. This is a project for another time. And as the Lockdown continues, there’ll be plenty of time for that!